
Today, I explain the way you can work on a software project with your project teammates using Git. I'll introduce the branches and practices I usually use.
Requirements
- Have already git installed
- Know basic commands in git (git init, git add, git commit, etc...)
Initial Settings
We assume that you have a project managed on a shared hosting service like Github which is currently in development. Let's say we have a project called test_project managed on Github.
Installation
Make your own repository on Github. Since we can edit file on github, let's use this to simulate a project worked by multiple people.
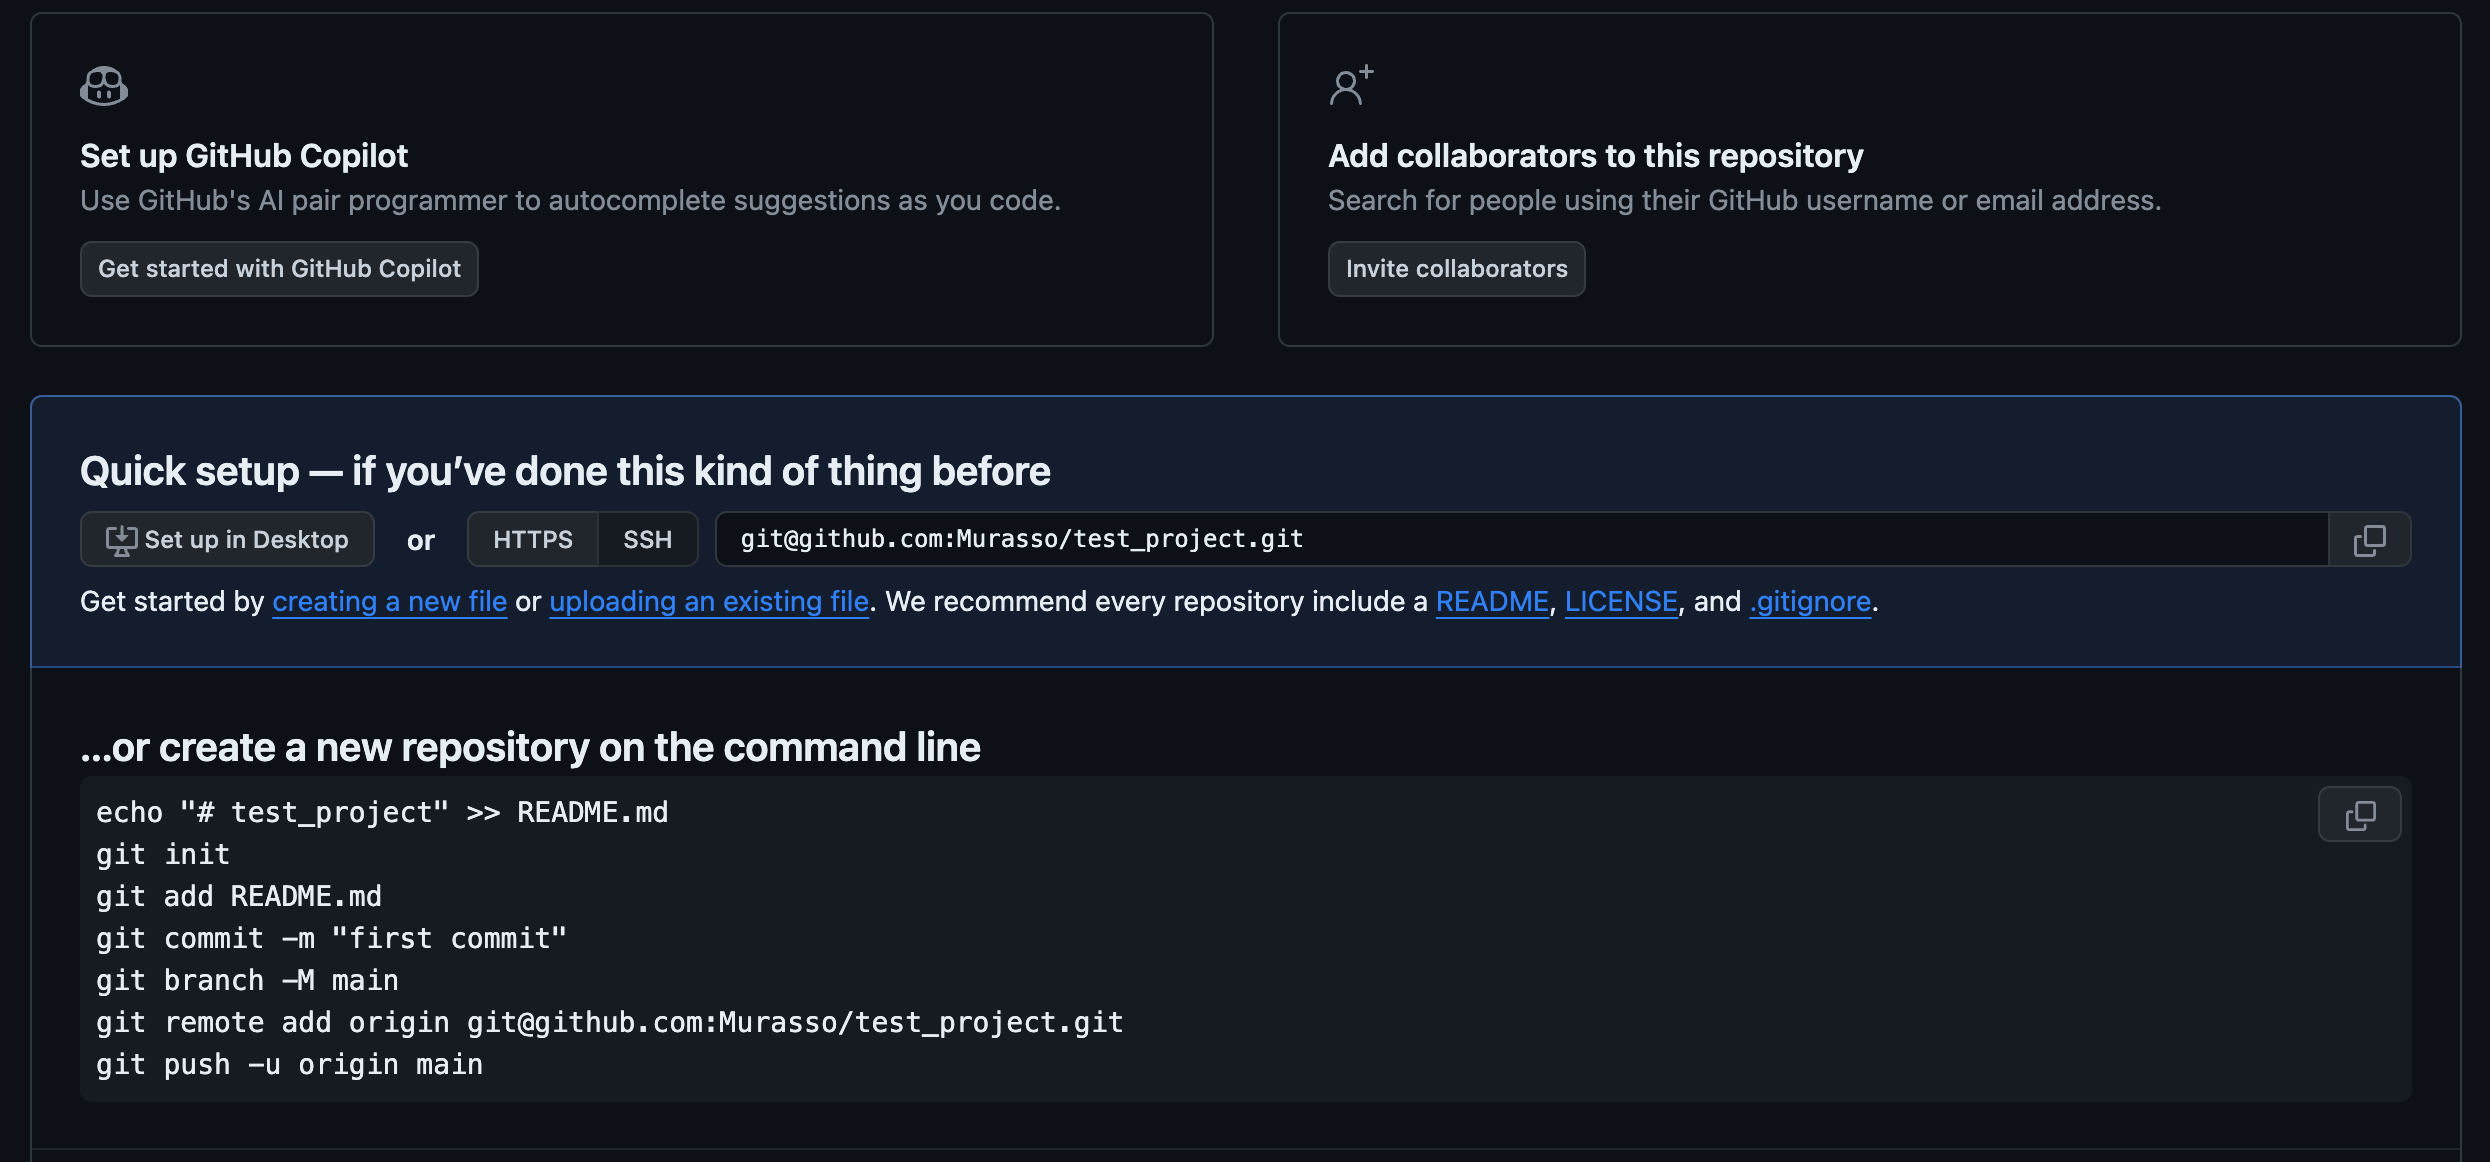
Let's install our codebase. In your terminal, run
git clone git@github.com:Murasso/test_project.gitAdjust the git@github.com:Murasso/test_project.git to your own repo url.
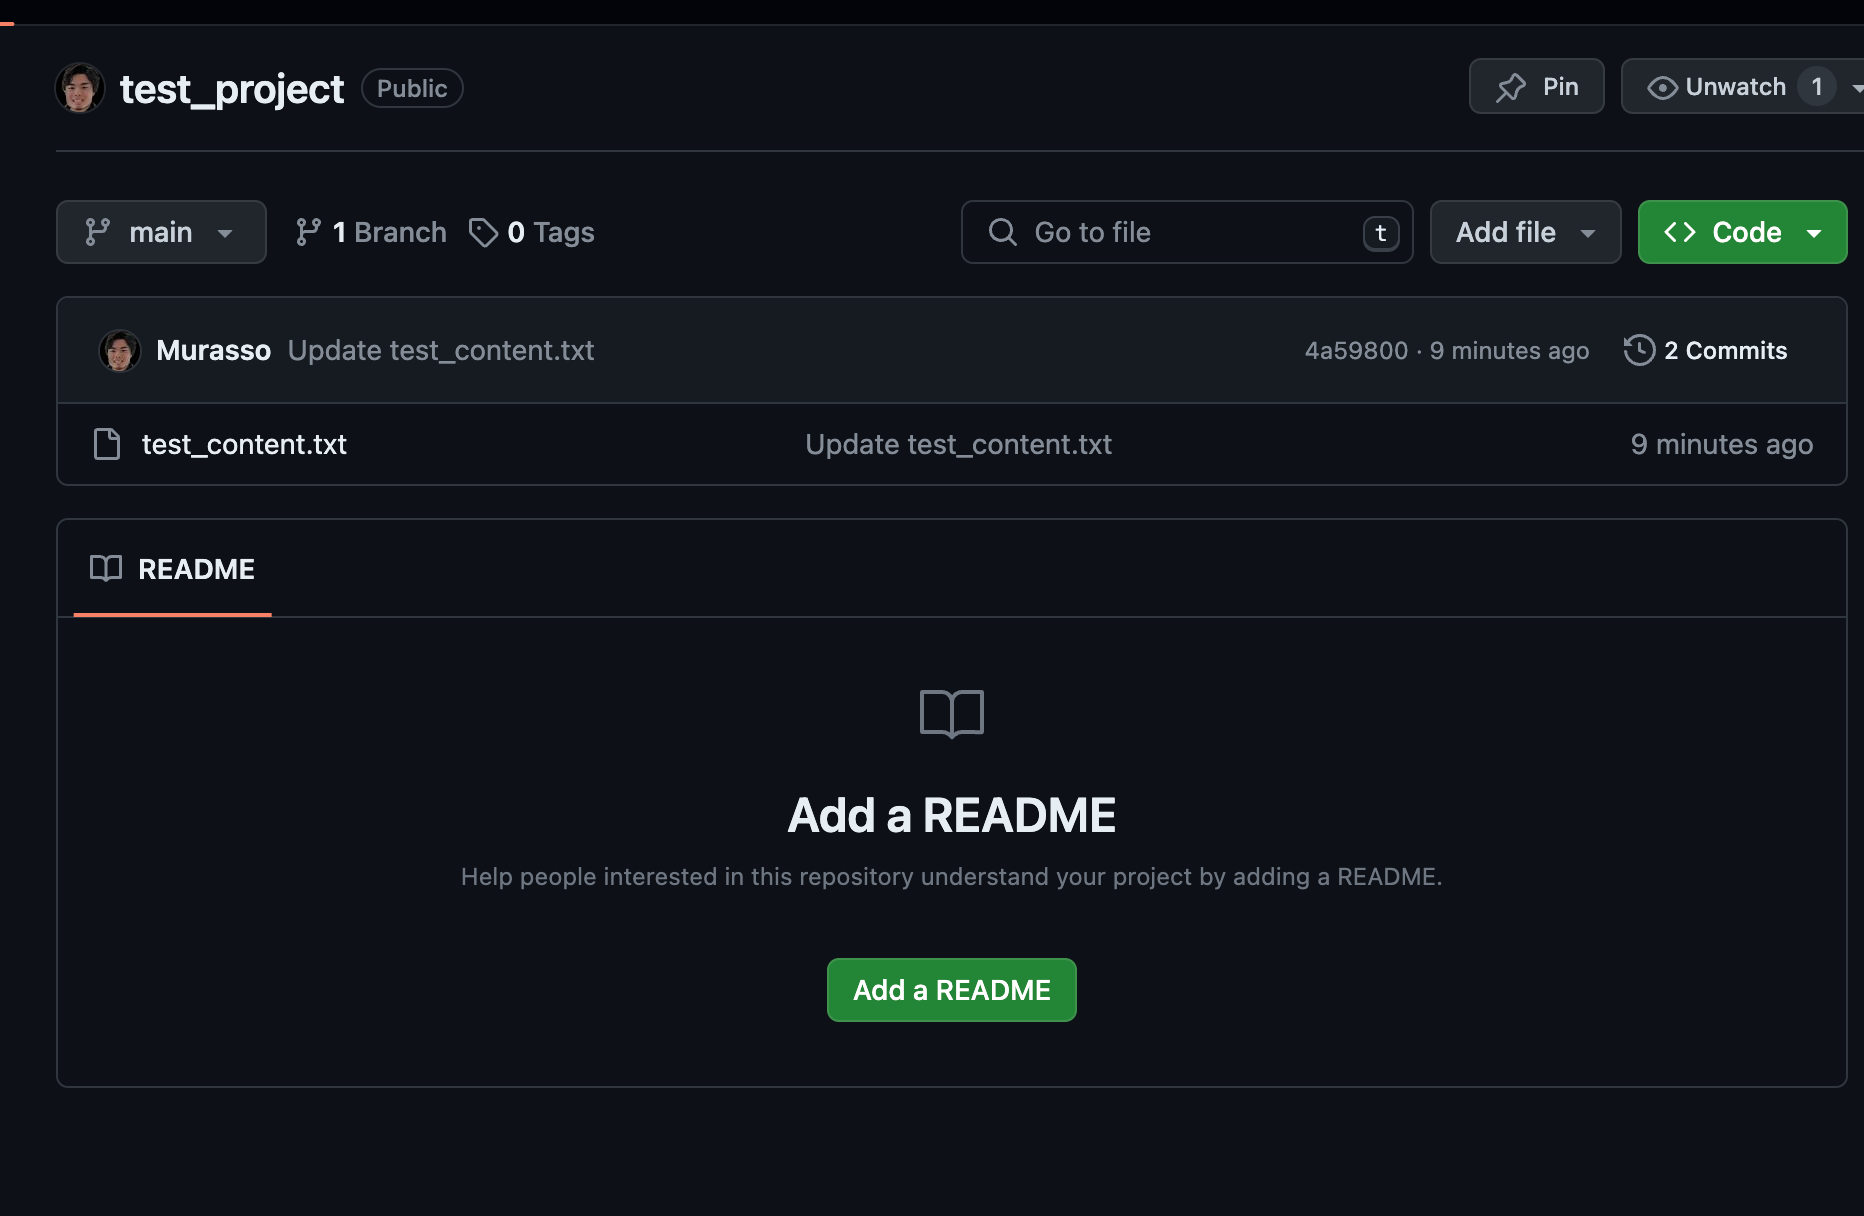
On github, in the same repository make a file called test_content.txt and write in the file
1.123
2.abcand then commit the change on github. You repository should look something like this.
On your local computer, inside the test_project directory, run
git fetchgit fetch retrieves data from the remote repository.
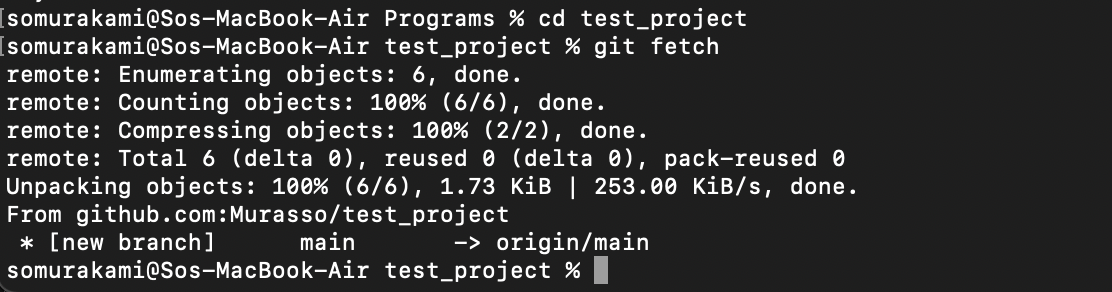
And this time since the default branch of github is main, main bra
nch is copied to our local machine with the name origin/main. In fact, your teminal should look like above.
Let's pull the change made to our remote repository to our local repository.
Run
git pullThis makes actual changes to your local repository that you didn't see with git fetch. Now there must be test_content.txt file on your local machine.
We make three branches from here: release, develop and feature branch.
In-depth explanations of this is found here: git flow.
Run
git branch release
git checkout release
git push --set-upstream origin release
git branch develop
git checkout develop
git push --set-upstream origin develop
git branch feature1
git checkout feature1
git push --set-upstream origin feature1If you go back to github, you'll see three new branches.
In order to prevent any bugs or issues from infiltrating into our main branch, we use these three branches, which is a safe and secure practice.

The diagram above shows a sample (simplified) flow of how a project is developed.
Depending on the project and its urgency, you don't want to waist time messing with branches. Then you can reduce the number of branches.
For example, to drop release branch and use develop and feature branches is one way. Or if the codebase is almost ready for production and just need a little bug fix, it makes sense to only use feature branch diverged from main branch.
How to deal with conflicts

Your collegue, Sam is on the same project as you. He's working on feature2 while you are working on a feature1, both branches diverged from develop branch. Sam finished working on feature2, and he went on to merge feature2 to develop branch. Guess what happened? Your local develop branch is now one commit behind the remote develop branch, which potentially causes merge conflict when you try to merge feature1 to develop branch.
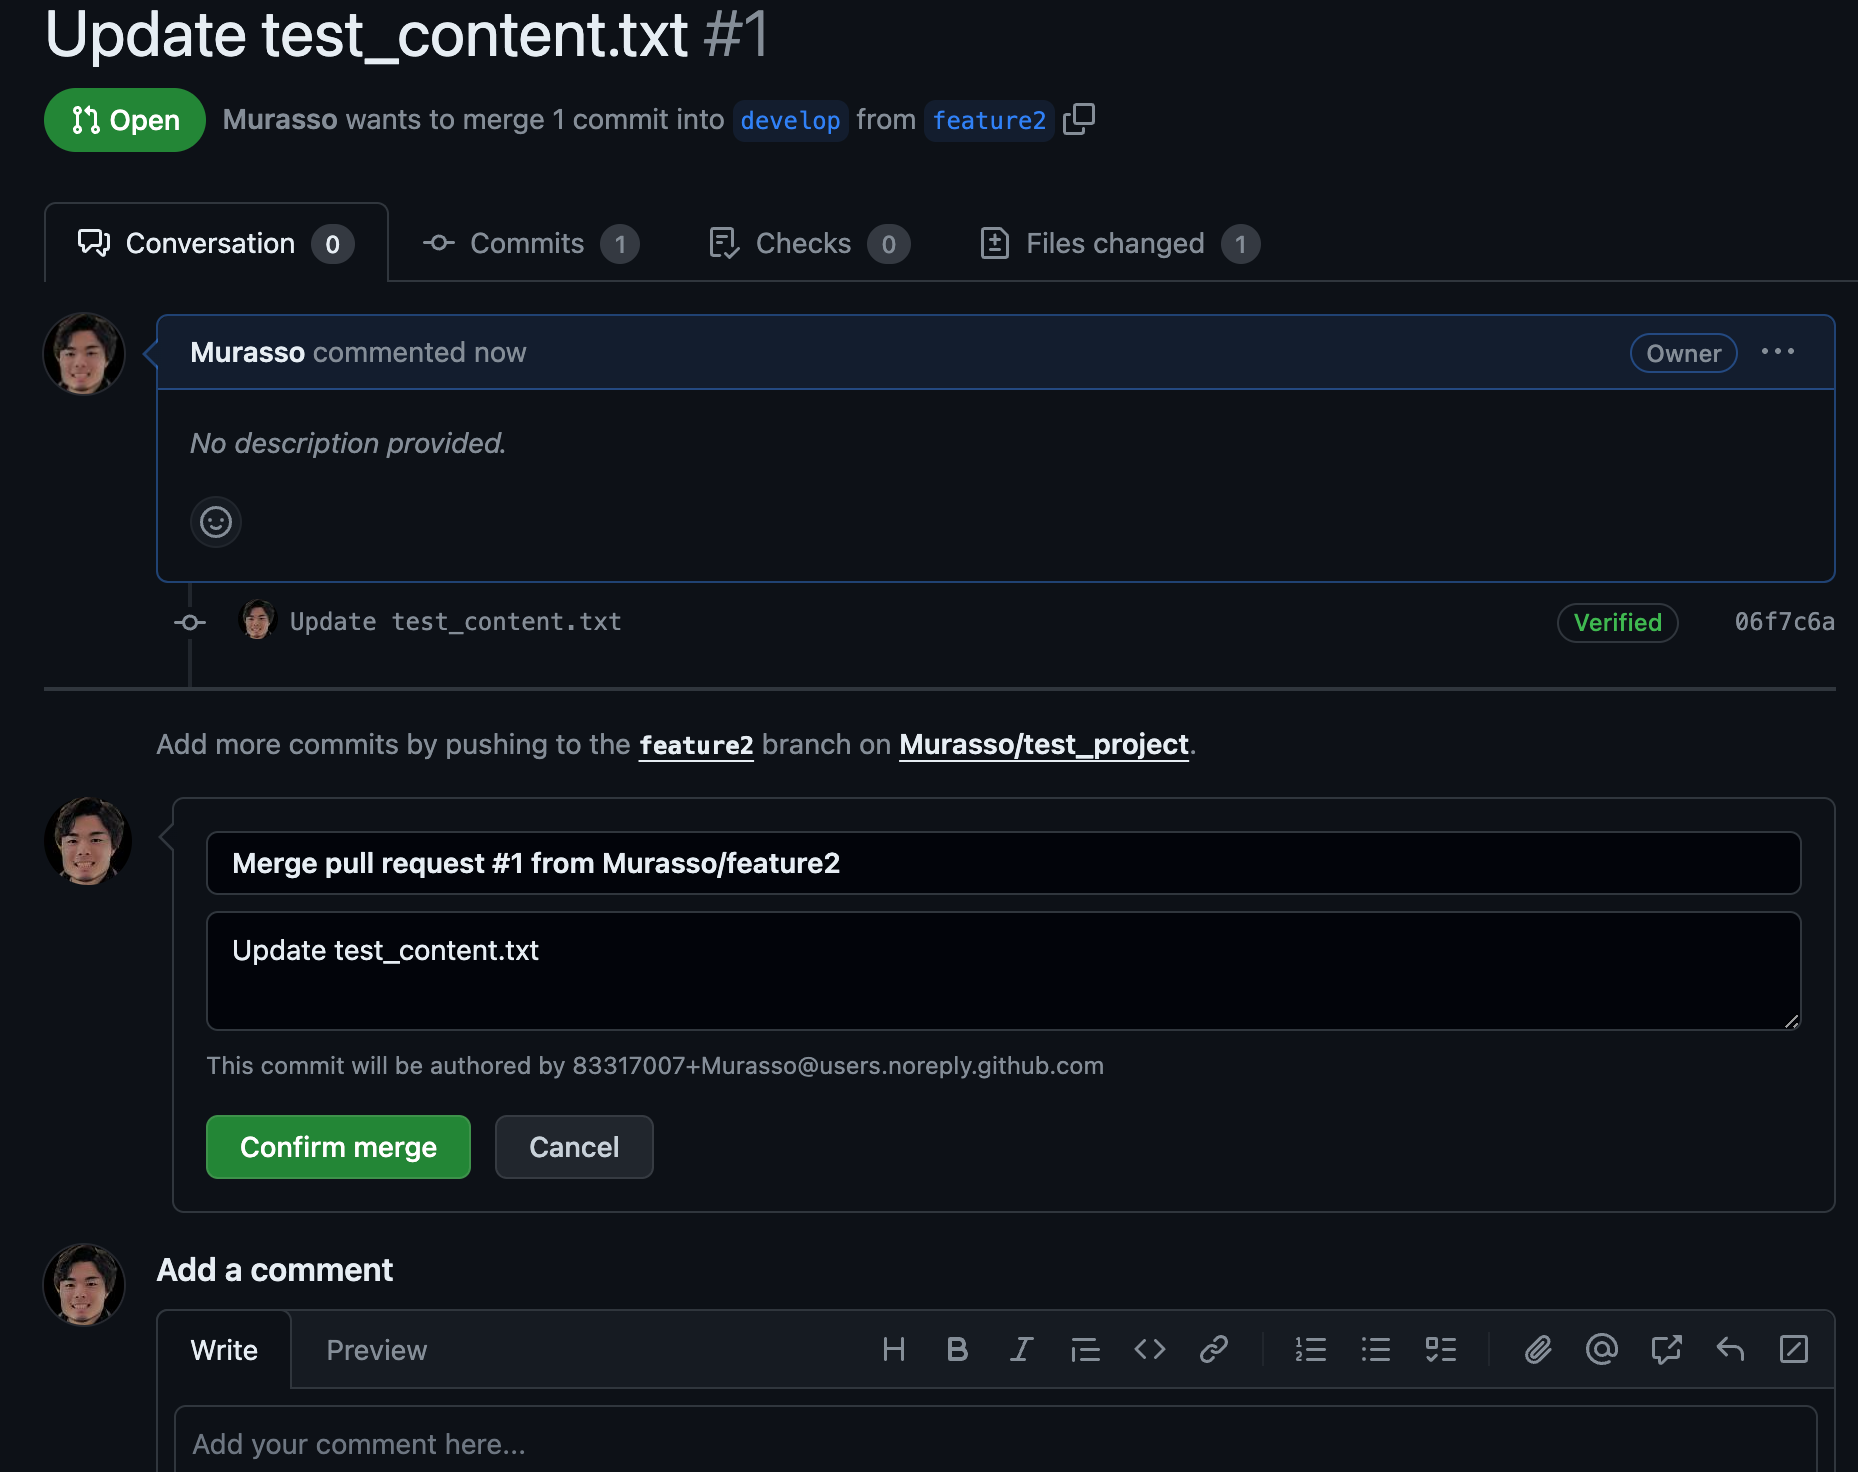
On Github, go to feature2 branch and make changes to test_content.txt file

And from Pull Requests tab, you can make a merge request from feature2 to develop branch.
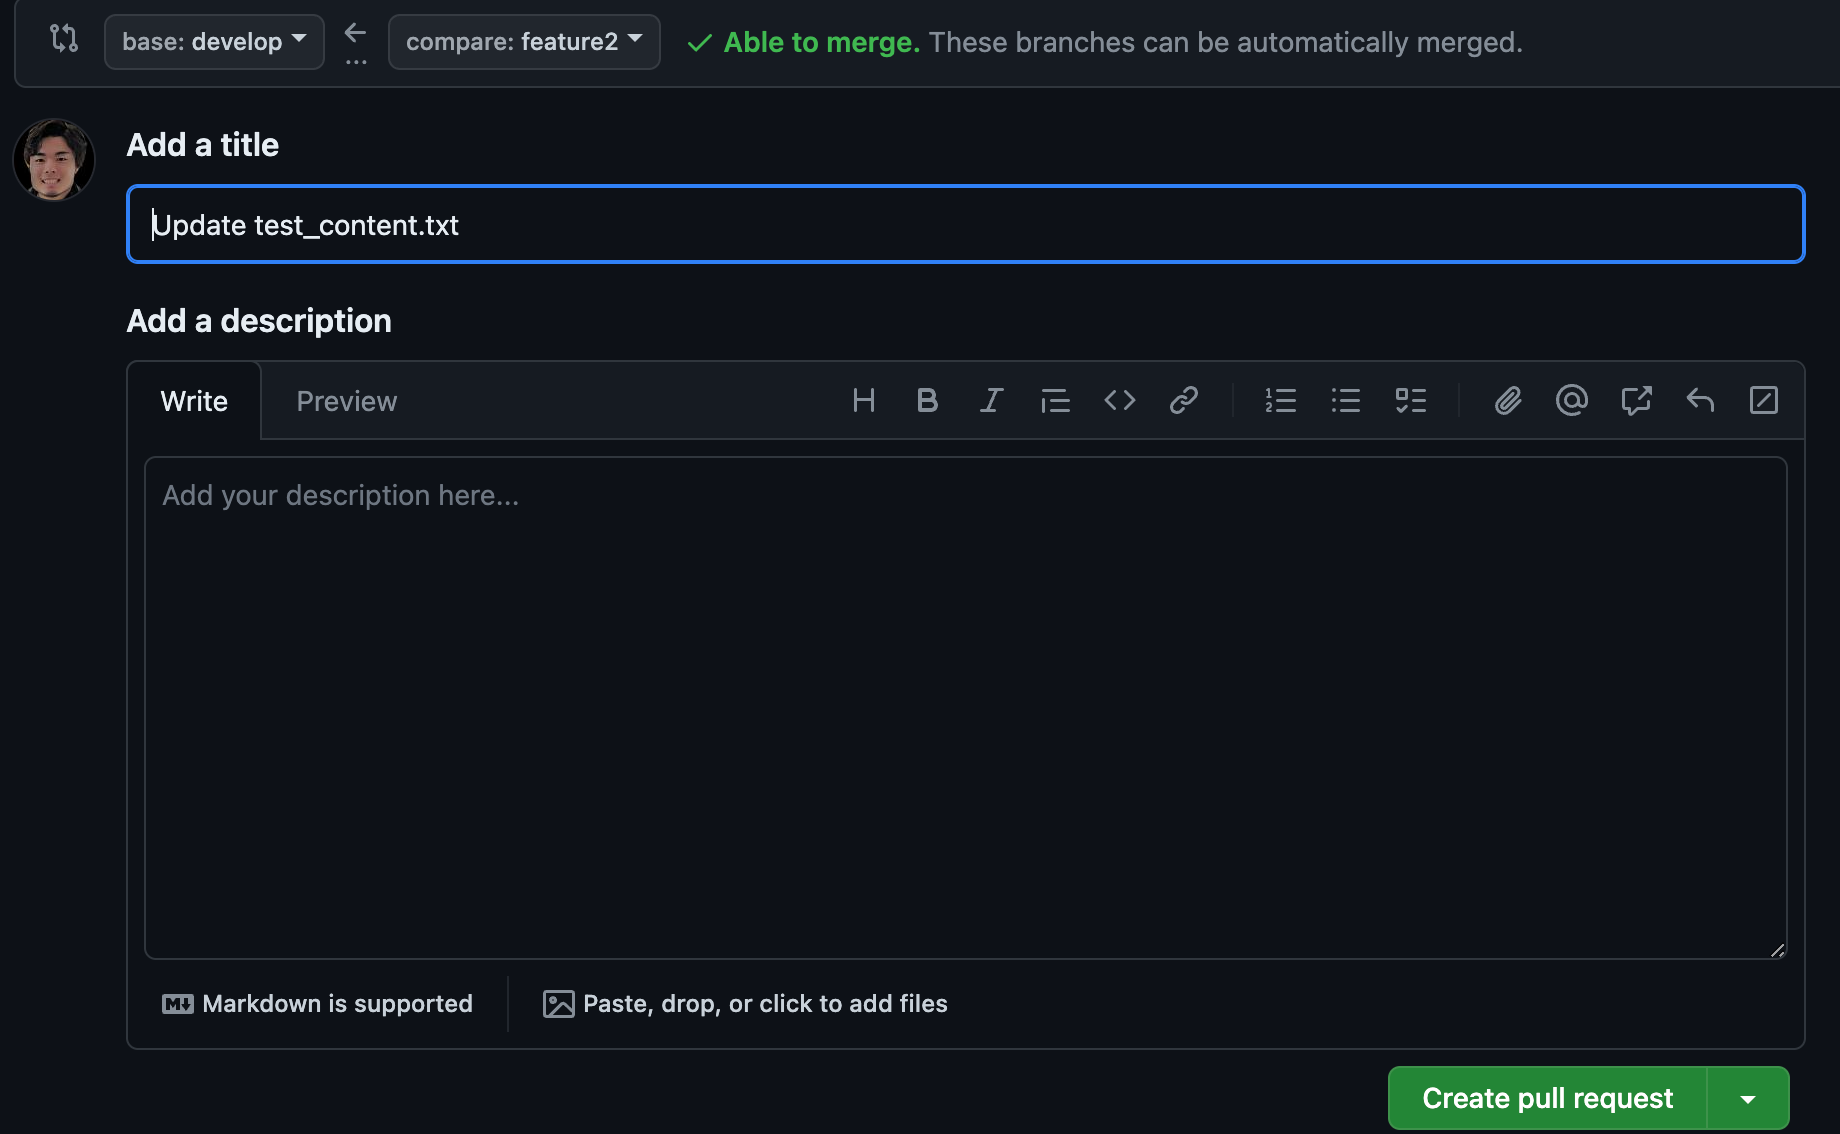
If you accept merge, the changes made to feature2 will be merged to develop branch.
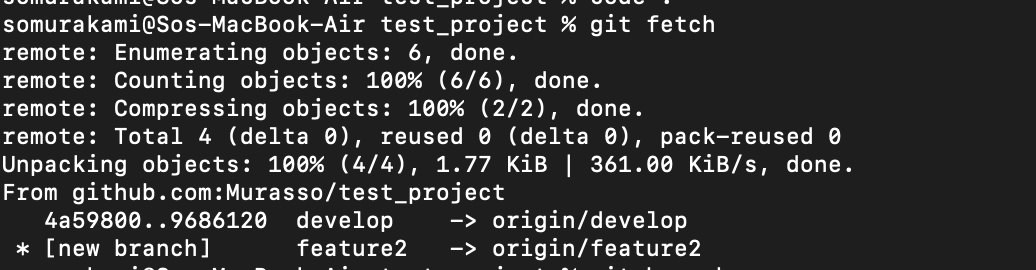
In the terminal of your local machine, run git fetch again, this will show add the information about feature2 to your git which didn't exist before.
By the way, what do I mean by add information about feature2 to your git? In git, there are three important concepts when it comes to branch. That is Remote branch, Local branch, and Tracking branch. Tracking branch keeps track of the changes made to remote branch. It is automatically made by git when you create a local branch from a remote branch so that git knows which branch to push to or pull from. And by git fetch, you make changes to Tracking branch, not Local branch, so that the actual changes won't be made to your local code but you can still know whether a particular local branch is ahead or behind a remote branch.
Now that we know our develop branch is one commit behind, on local develop branch run
git pullThen go to your feature1 branch and make changes to your file the way it conflicts with our remote branch.
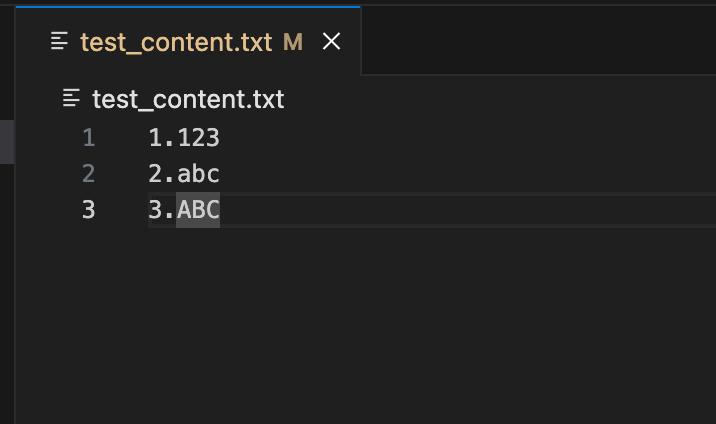
And then you can run
git add .
git commit -m "Feature: added a 3rd line"
git merge developThen you'll see the following message

If you're using vscode as text editor, the corresponding file will be showed up like this
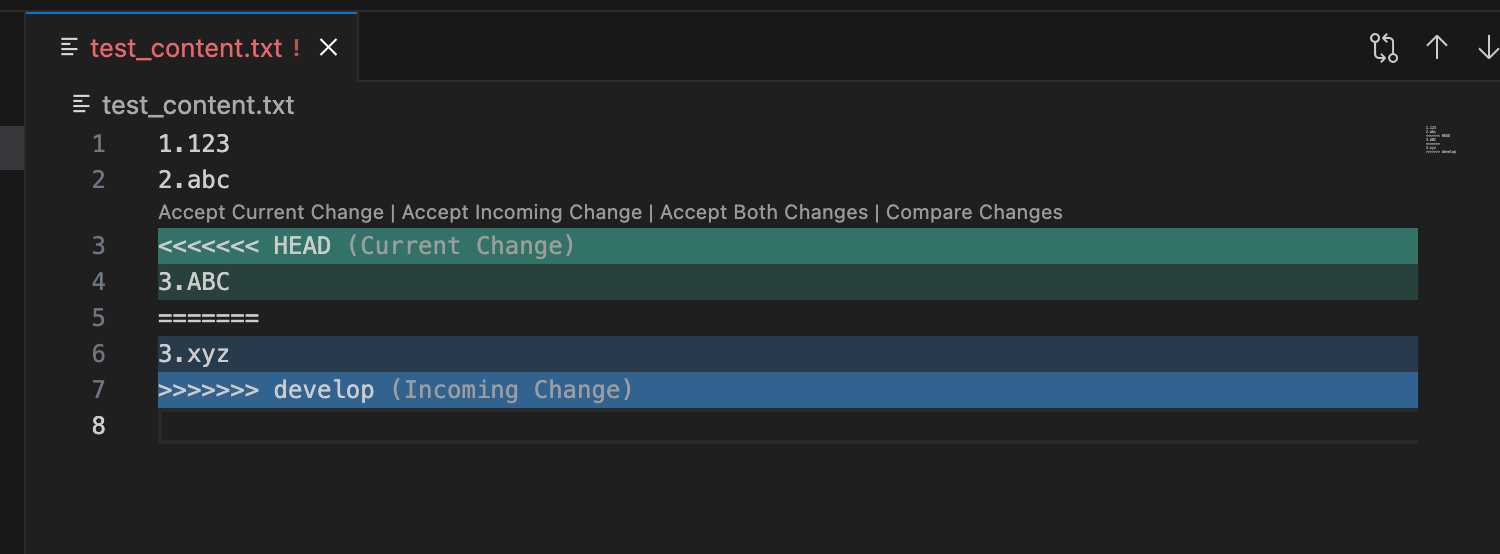
Let's make resolve the conflict by making XYZ the 4th line
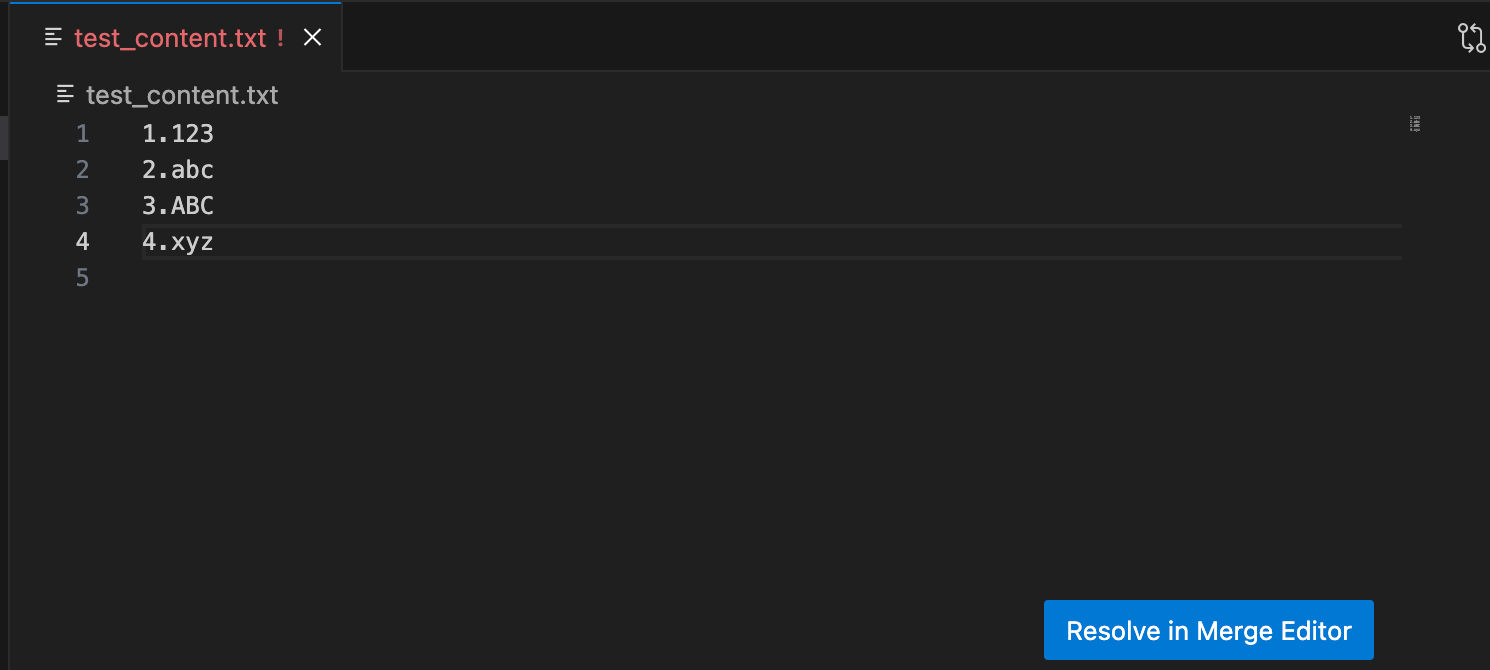
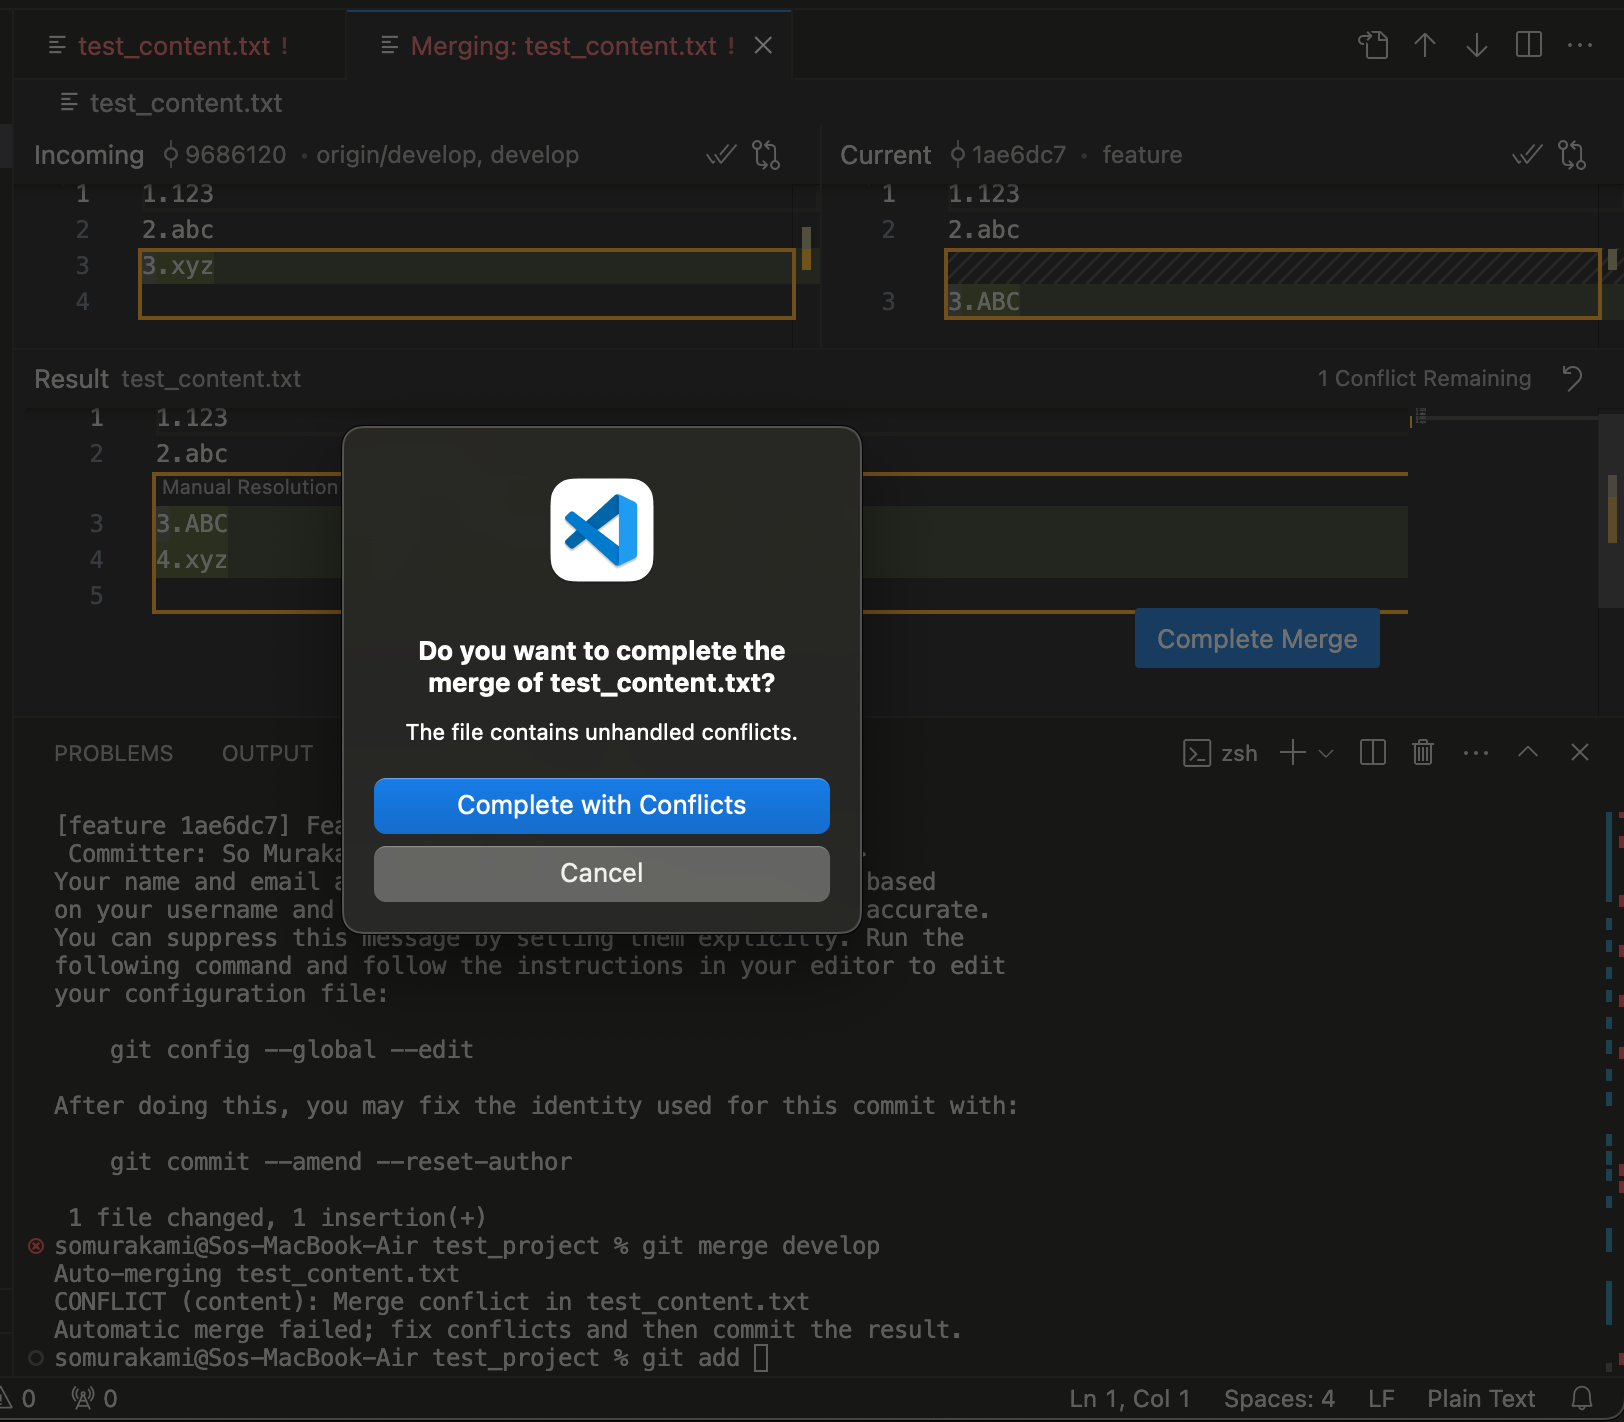
If you're using nano or vim as text editor, just save the file. If you're using vscode, a 'Resolve in Merge' button will show up and you can click the button.
And you go on to add and commit and push your change.
git add .
git commit -m "resolved conflict"
git pushGo back to your github and you'll go to compare&pull request section and merge feature1 to develop. The rest is the same as when you merged feature2 to develop. Merge will be successful even though before merging, on develop branch, the third line of test_content.txt is XYZ not ABC. That is because the feature1 branch now has the history of resolving merge conflict on your local machine.
Once you're done with develop branch, merge it to release branch. And after careful checks, you merge release branch to main branch.
Conclusion
In this article, we discussed the way to collaborate with other developers using Github. We introduced release branch, develop branch, and feature branch, and explained how to work with them. Hope this was helpful.
Happy coding!